Showing posts with label gardening. Show all posts

Tuesday, September 20, 2011

Attention Tree Huggers....

Someday I hope this Weeping Birch will be the
crowning jewel of our backyard
So Fall is a great time to plant a tree, as well as in the Spring.  You don't want to plant during the hottest (or the coldest) season of the year because it stresses the tree out and it will most likely not survive the whole ordeal.

Before buying your tree, do some research on which variety to buy.  You can call the extension service in your area to see which varieties are better, or just talk to someone who has trees like you want and see what they recommend.

For example, we planted a peach tree this spring.  We have been using the peaches from Mike's mom's tree and thoroughly enjoy them, so we found out from 'Uncle Marlow' who actually planted the tree that the variety is called 'Canadian Harmony'.  We found that particular variety at Cooks Nursery in north Orem. 

And despite my Dad's advice not to let the peaches grow on the tree the first year, we did anyway and we got 7 or 8 large, juicy, delicious peaches to eat from it.  Dad, it was worth it.  Sorry little tree.  So the first year or two after you plant it, you should remove the fruit from the tree so that it can focus on establishing a good, strong root system, as well as strengthening the tree as a whole.  But no harm done to our little peach tree.  It survived and did very well for its first season.

When planting any tree, dig a hole twice as big around or bigger than the pot that the tree is in.  This loosens the surrounding soil enabling the roots, which have been cramped and growing in that small plastic pot, to stretch out once it has been planted.  Some people say to amend the soil with compost or other fertilizer, but I have heard that the roots love the composted soil so much that they will not grow beyond into the other soil.  Therefore it is best to use only native soil.

Toddy, keep digging!! That hole needs to be bigger.
 
Look at how deep the tree is planted in the pot from the nursery.  You do not want to bury it any deeper than that.  In fact some of the roots may be showing, but regardless of any temptation to bury them, do not.  Pull the tree out of the pot.  Place it in the hole.  Then lay the handle of your shovel across the entire hole to make sure the tree is level with the surface.  If it is too high, take the tree out and dig it down a little bit more.  If it is too deep, back fill a little before placing the tree in the hole.  Before you finish, make sure the tree is straight.  Stand back and walk around the tree making sure it looks good.

Now you can start filling the hole with soil.  When you have filled the hole half way, water it well letting things settle and soak in a bit.  Then finish filling the hole and water again.  Water the tree thoroughly every day for a week or so and make sure it continues to be watered well at least once a week.

I consider my self to be a bit of a tree hugger, quite literally.  I love all of the trees we have around our yard, which total 23 at last count.  In the last two years, we have had to remove ten trees, much to my dismay.  We replaced several dead aspen trees in our front yard last summer. 
But the saddest tree for me to take out was the Globe Willow that was growing in our back yard.  Last April, after a late snowfall, the tree split under the weight of some heavy snow and about one third of it came down, landing on our roof, luckily causing little or no damage.  We left the rest of the tree hoping it would be ok.  However, by the next Fall (of 2010), we could see all the way through the trunk of the tree and we realized that the tree was splitting.  We knew that if we didn't bring it down, that the harsh winter and weight of snow on the branches certainly would. 

My Dad, the work horse
As you can see from the pictures we took, Dad rented a boom lift and he and Micah came over to take the tree down.  Micah had been living at home with the parents and was also jobless, and was therefore able to come and help us out.  What a good brother.  What a good memory of him.  He actually brought Kimmy with him too-- sad that I did not take a picture of them together.  It was a big job.  And sad to see the tree go, along with 80% of the shade in my backyard.  But it had to be done.

After Micah died, Mike's family was so kind and thoughtful knowing that Micah had helped to take our tree down.  They gave me a card with lots of money in it to pay to replace our fallen tree.  With that money, we were able to buy a Weeping Birch tree, along with the peach tree and a crabapple tree, all of which we planted in the backyard.  The Weeping Birch was planted in memory of Micah.   Love ya little brother!!!
Hug your trees and hug your brothers


Wednesday, August 17, 2011

Critical Corn Care

After the rainstorm the other night, I walked out into the garden to quite a devestating surprise.  Half of my corn crop was down on the ground.  I consider every square inch of my garden precious.  And to put a full quarter of my garden into growing corn on the cob only to have it wasted by one little storm is frustrating, to say the least.  I even considered, if only for a minute, not planting corn next year.  But even as we were feasting on the delicious harvest of corn tonight at dinner, Mike said, "This is totally worth it."  Obviously something's got to change or get better, so that this valuable garden space is not wasted again.

So I did some research and found out there are some things I can do to improve not only the durability of the corn stalks, but also the ear size and corn taste.  I will start from the very beginning.

Before we even start planting our garden, there is much we should be doing to improve our soil, thereby improving the year's quality of harvest.  Putting compost into the garden soil each year is the best thing we can do to improve soil condition, making it the ultimate place for growing delicious vegetables.  In the spring before we plant, use a fertilizer that is high in nitrogen (16-16-8) and work it into the soil as we till the garden.  This step is necessary to growing large, full ears of corn, and is also good for the rest of the garden.  Also, as we rotate our crops, reducing threats of diseases and pest problems, plant corn in areas where previously was grown beans or peas, which actually put nitrogen back into the soil as they grow, thereby benefiting the corn planted in the same spot the next year.

Corn grows quite tall and therefore should be planted on the north side of our garden so as not to shade the rest of the things we have planted.  I have even heard that rows should be planted going from the east to the west so as to maximize the sunlight, but I have not tried out that theory. 

Corn can be planted as soon as the threat of frost is gone, which for this area is around Mother's Day, or the middle of May.  We must plant at least three rows of the same variety together so that they have good pollination.  After the plants come up, they should be thinned to about eight inches apart, taking out the smaller or weaker plants. 

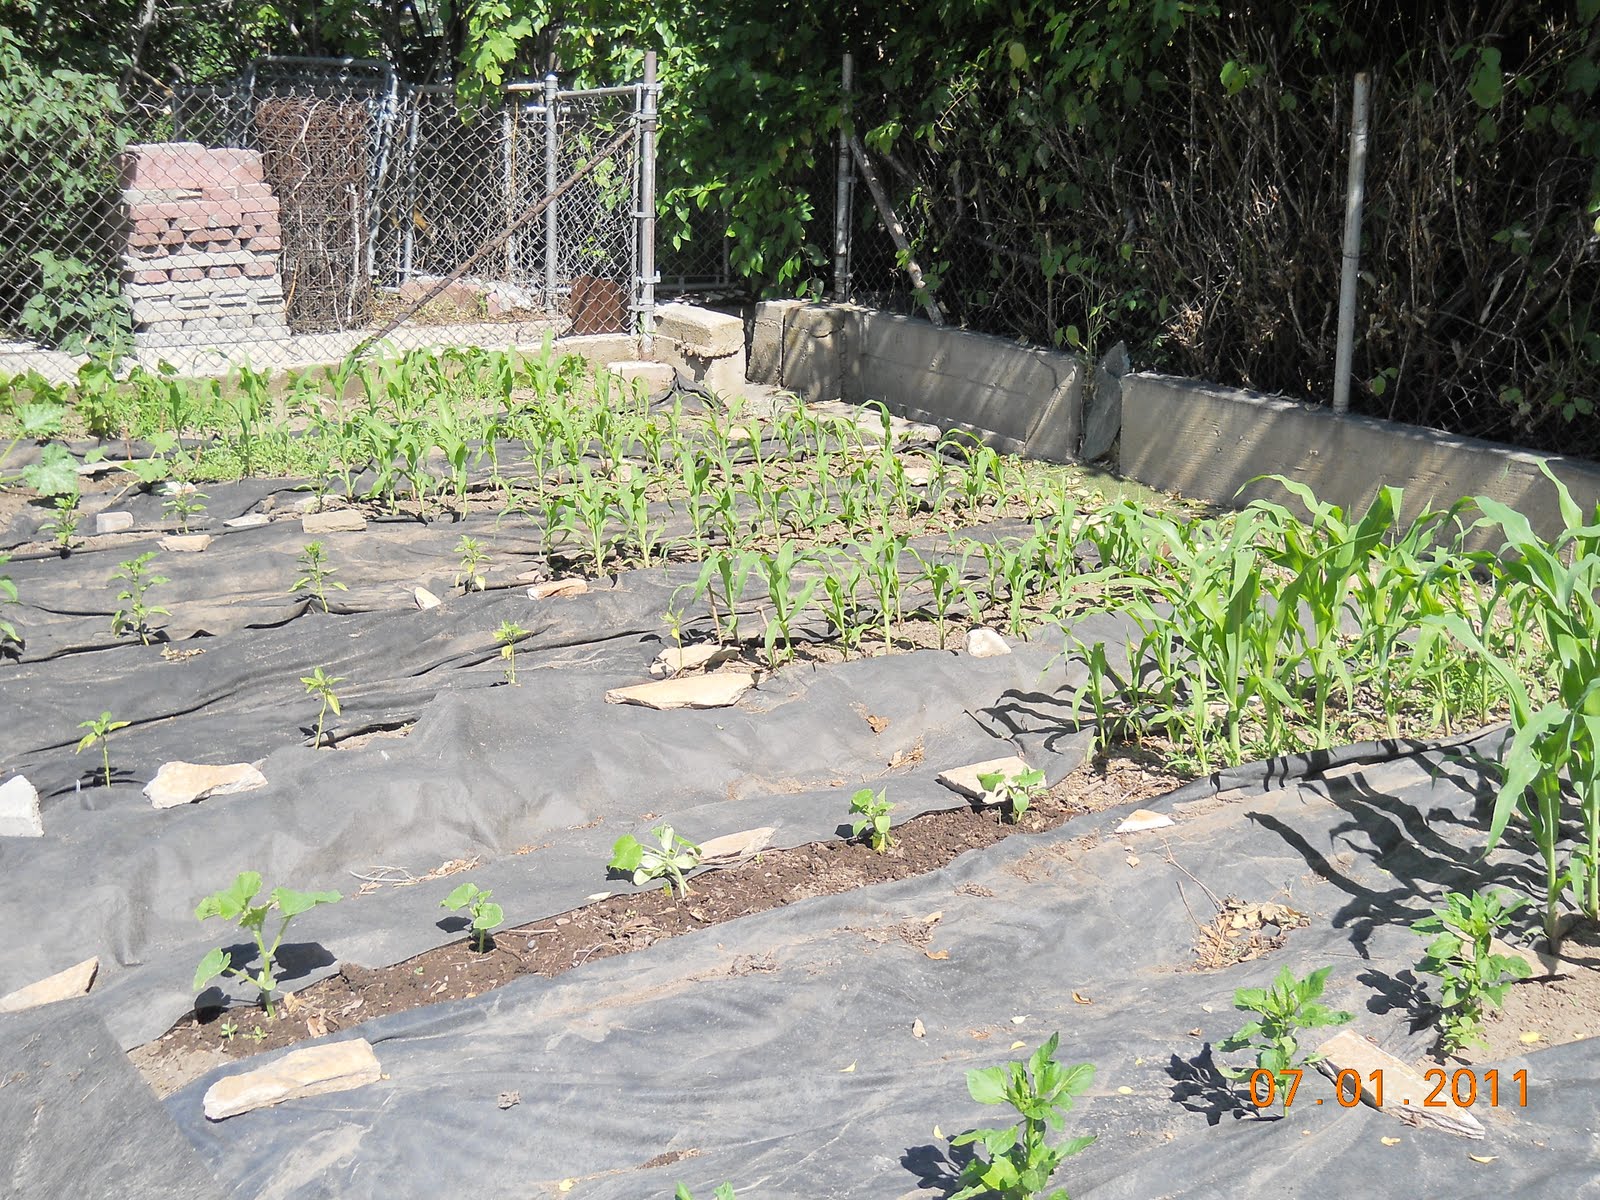
This year I have planted my corn more compactly, following after the pattern of the Square Foot Gardening method, that says that we have learned to space things so far apart in rows because of the traditions that farmers have passed down to us.  However, most home gardeners do not have a horse or a tractor or any other farm equipment that needs to get in between these rows.  So we place rows closer together, or, as I have done this year, we double plant our rows, thus maximizing our gardening space.

This is the new thing I have learned:  When planting, prepare the row like normal, spacing it 30 to 36 inches apart.  Then make a four inch deep planting furrow.  Plant the seeds 3 or 4 inches apart and cover them with about one inch of soil.  Because the planting furrow was four inches deep, you still have a small furrow down your row.  When the plants have come up, thin them to until they are about eight inches apart.  When plants are about 6 inches tall you then pull in dirt from the surrounding furrow to fill in around the corn stalks.  The plant will then put out extra roots in the mounded area called 'prop roots' or 'brace roots'.  These will strengthen the stalk of corn so that it will not blow over in the wind. 

Another important step when planting corn has to do with pest control.  Now I do not like to put any kind of poison in my garden if I can help it.  But I also do not like bugs in my corn.  When the corn plants are around eight inches tall, sprinkle Sevin dust down into the tops of the plant.  This eliminates pest problems before the ears of corn ever start growing.  Also spraying the corn silk with Bt helps control the earwigs and other bugs that get down inside the ears of corn. 

I tell people NOT to plant corn in their home garden, because once you do, you can never eat corn from the store or even the stand again.  You will never be satisfied with the lesser quality.  The reason is this:  The sooner you get the corn from the garden into the pot of boiling water the better it tastes.  The kernels are so sweet and tender, they literally pop with juicy flavor as you bite into them.  The longer the corn has been picked, the sweet sugars found in the corn turn into starch, and the kernels get tougher too.  I've heard someone say if you have your water boiling as you are picking your corn, but you happen to stumble on your way into the kitchen, turn around and pick it fresh again.  The fresher the better.  It is mouth-watering and sumptious.  And IT IS totally worth it.